Cash App is a popular payment app that allows you to easily send and receive money. If you’re new to Cash App, setting up an account is easy and straightforward.
We’ll walk you through the simple and straightforward steps to create a Cash App account without any assistance.
1: Download the Cash App
The first step to setting up a Cash App account is to download the app on your smartphone. Cash App is available for both iOS and Android devices and can be downloaded for free from the App Store or Google Play.
Important Cash App Links to Check
Cash App Security: Keeping Your Money Safe
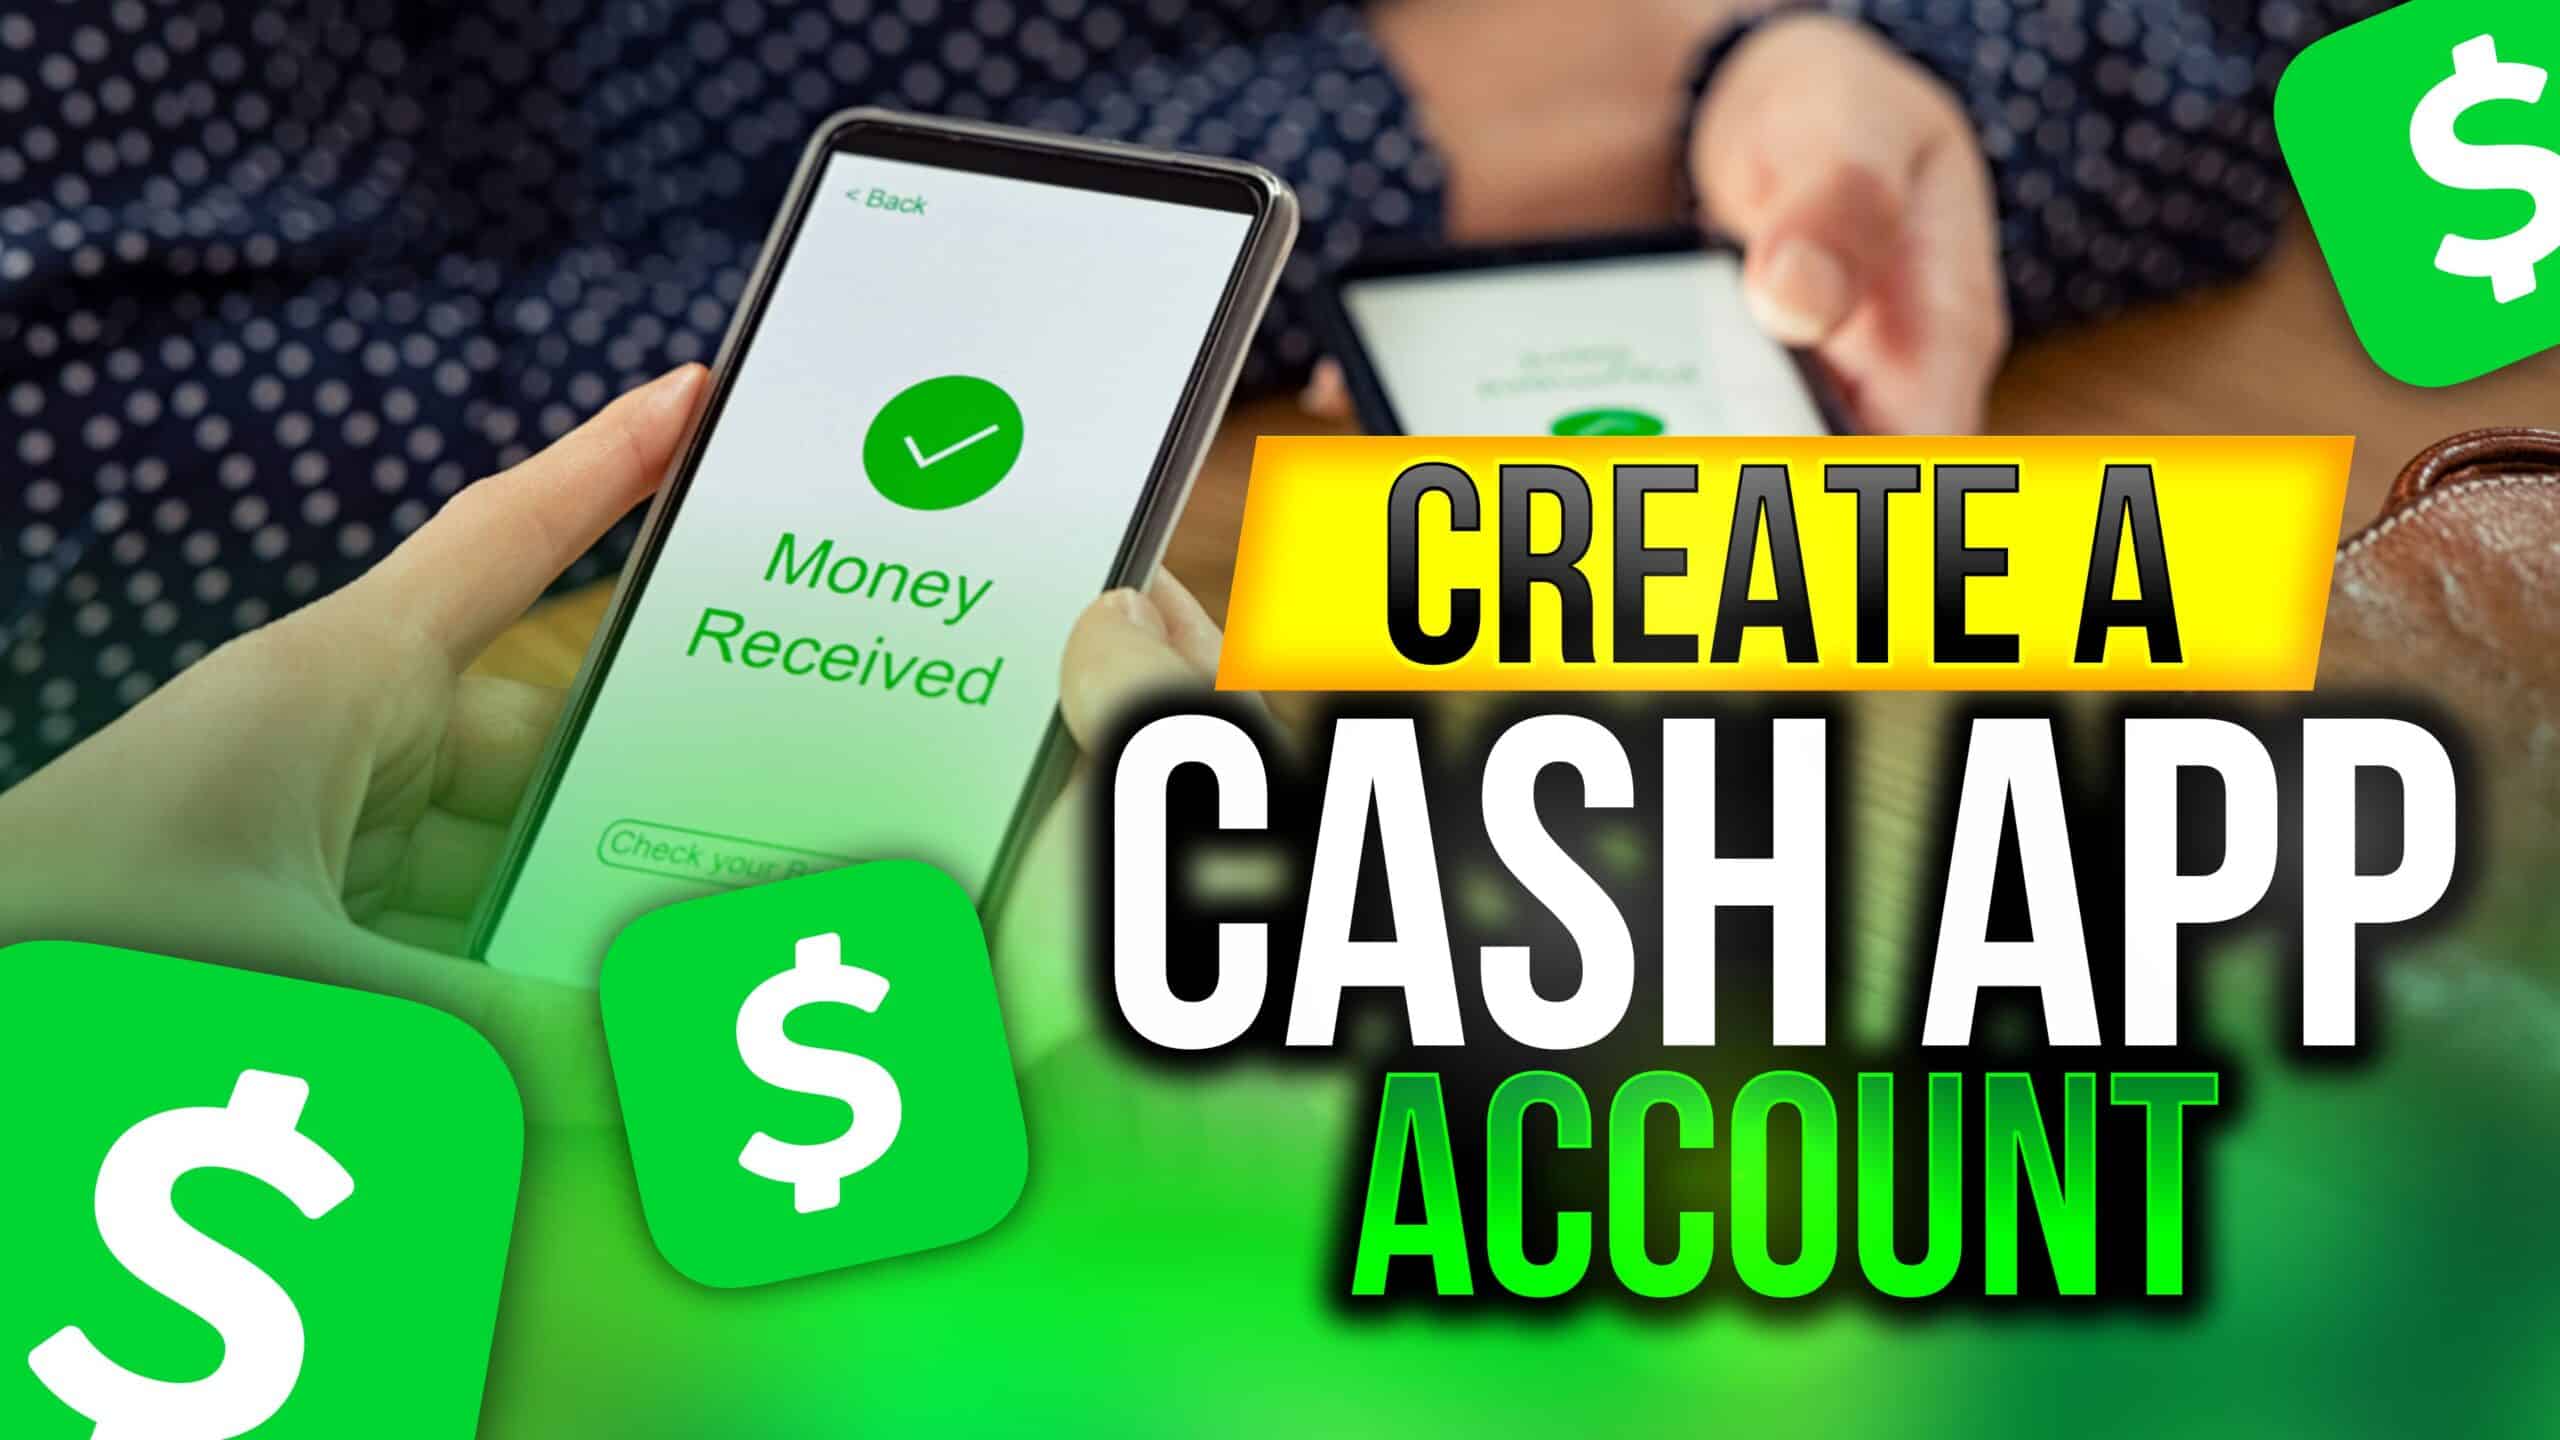
How to Create a Cash App Account: A Step-by-Step Guide
Cash App Fees: Everything You Need to Know
The best Cash App features you’re not using yet
The Benefits of Using Cash App for Business Transactions
Cash App vs. Venmo: A Comprehensive Comparison
A Complete Guide on How to Use Cash App for Easy Money Transfers
How to Get a Cash App Debit Card and Use It for Purchases
How to Use Cash App to Buy and Sell Bitcoin
How to Use Cash App to Send Money to International Recipients
Cash App and Budgeting: How to Track Your Expenses
Cash App customer service: How to get help when you need it
How to Download Cash App and Create Cash App Account
2: Create an Account
Once you have downloaded the app, open it and click on the “Sign Up” button. You will be asked to enter your phone number or email address. After entering this information, click on the “Next” button.
3: Link Your Bank Account
To use Cash App, you will need to link a bank account or debit card. Cash App supports most major banks, so simply enter your bank account information or debit card number when prompted.
4: Verify Your Account
After linking your bank account or debit card, Cash App will ask you to verify your account. This may involve entering a verification code sent to your phone or email, or answering security questions.
5: Customize Your Account
Once your account is verified, you can customize your account by adding a profile picture or custom display name. You can also enable features such as notifications and two-factor authentication for added security.
6: Start Using Cash App
Congratulations, you’ve successfully set up your Cash App account! You can now start using Cash App to send and receive money from your contacts. You can also use features such as Boosts and Bitcoin trading to make the most of your Cash App experience.
In conclusion, it is so clear now that setting up a Cash App account is easy and straightforward. By following these simple steps, you can start using Cash App to send and receive money in no time